Over the years, the Mac GUI has changed the way we work. Still, many people use the command line for its ability to control and automate tasks or even configure features on the Mac that are only accessible through the CLI. Some things in the Terminal app allow users to work faster for basic or repetitive tasks. Commands can be chained together to increase their usage, and more.
Learning some of the basic CLI commands is an easy way to grow your knowledge of how you can use command line interfaces on a modern Mac to get work done efficiently. So open Terminal, and start exploring with the commands below.
Jump to:
Accessing the Terminal app
Anyone on a Mac built after Mac OS X’s initial debut in 2001 can access and use the command-line interface through the Terminal app on their Mac via the UNIX-based shell. This app can be found inside of the Applications | Utilities folder — open a Finder window, and press Command + Shift + U. Terminal can be opened like any other Mac application, appearing as a black window with a blinking cursor where you can type commands.
As you can see, your Mac isn’t just limited to the graphical elements to explore, like the Control Center. You can even pop the hood and delve into the underpinnings of the operating system to get things done.
SEE: Keep your Mac in top shape with this macOS tune-up checklist from TechRepublic Premium.
The Terminal app works by entering commands on the keyboard and pressing return to execute the commands. Terminal will then respond with any relevant information available. Although, some commands may not echo back any output.
Even with macOS Sonoma, Apple has continued to ship updates to the macOS Terminal app that allows users to interact with the underlying UNIX command line. This makes the Mac extremely powerful and a great option for power users and nerds who want the most power out of their computer.
Top Mac terminal commands
1. Change Directory
Command: cd
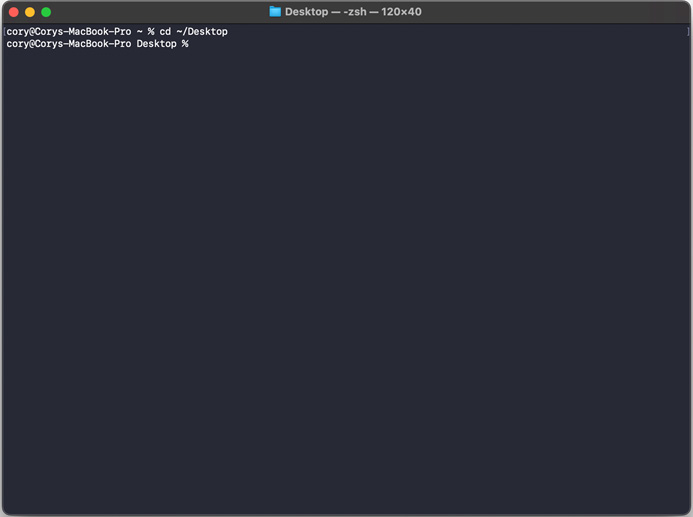
What it does: The cd command will change the directory you’re currently working with in Terminal to execute other commands on a different directory, view the contents of a different directory or open a file in a different directory. This is a common command that will be used when working with the CLI. If you ever lose your place and which directory you’re in, type pwd, and press Return to echo the current path.
Example: cd “path/to/directory/” (Figure A)
Figure A
2. Listing Directory
Command: ls
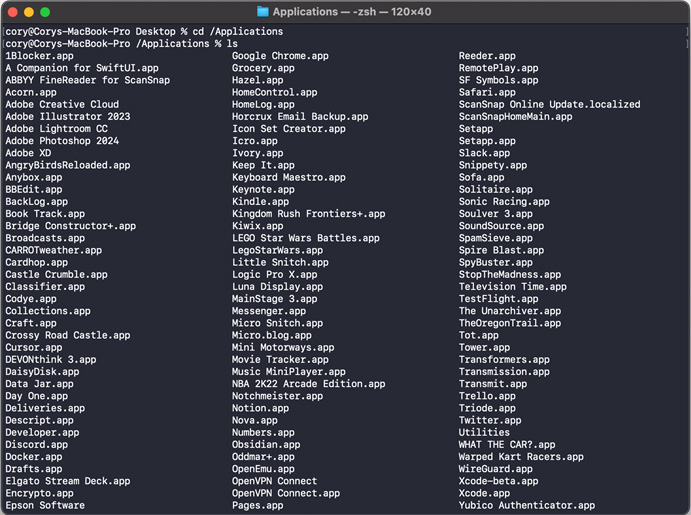
What it does: Use the ls command after navigating into a directory using the cd command to view the contents inside of the current directory. Use the argument -l (ls -l) to get even more information about each of the files, including the permissions, owner and date created.
Example: ls “path/to/directory/” (Figure B)
Figure B
3. Open files
Command: open
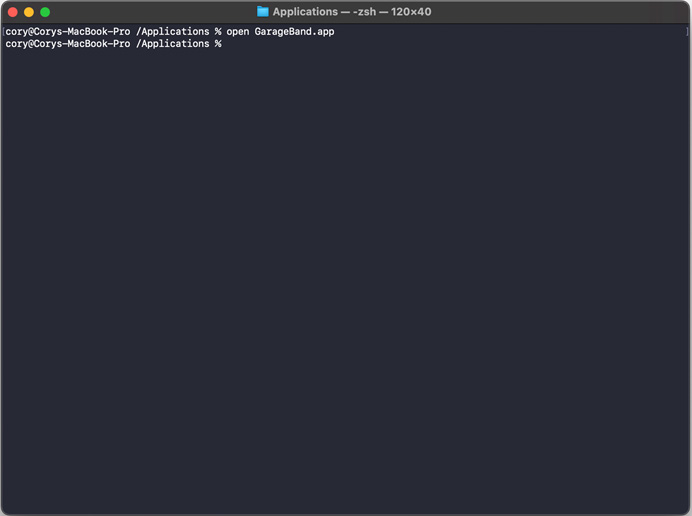
What it does: When browsing a directory, you may encounter a file that you wish to open on your Mac. That’s where the open command comes in. Typing this command followed by a space and the filename will open the file with an appropriate app. When typing the filename, you don’t need to type the full name, partially type what you can, then press tab to autocomplete the remaining text.
Example: open “filename” (Figure C)
Figure C
4. Copy a file to another directory
Command: cp
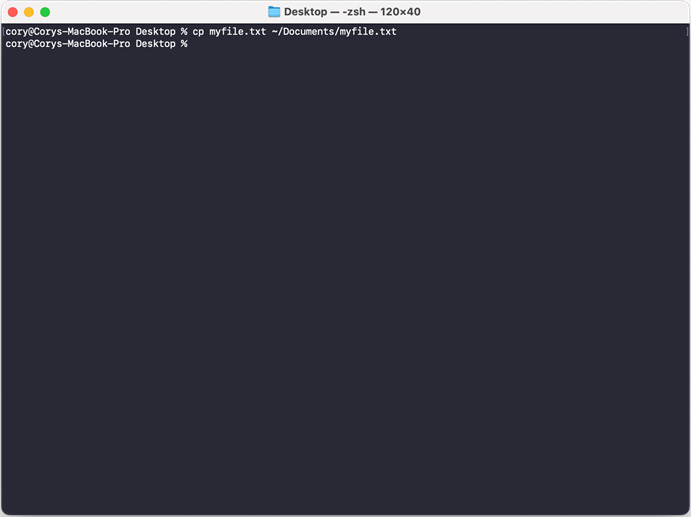
What it does: The cp command facilitates copying a file from one location to another or making a copy of the same file with a new name. When specifying the first argument, include the originating file you wish to copy followed by a space and a full path, filename and extension of where you want the copy to be placed when the command is executed. Terminal will return when the copy has been completed.
Example: cp “filename” “newfilename” (Figure D)
Figure D
5. Move a file
Command: mv
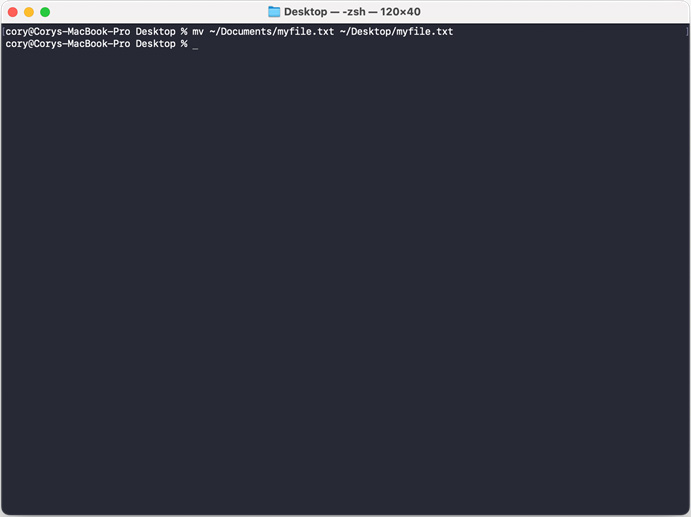
What it does: When you don’t want to copy a file, but instead move it, use the same format of the cp command, but instead replace cp with mv. This will perform a file move from one location to another, removing the file from the original location and putting it in the new location.
Example: mv “filename” “path/to/new/file/location” (Figure E)
Figure E
6. Create a text file
Command: touch
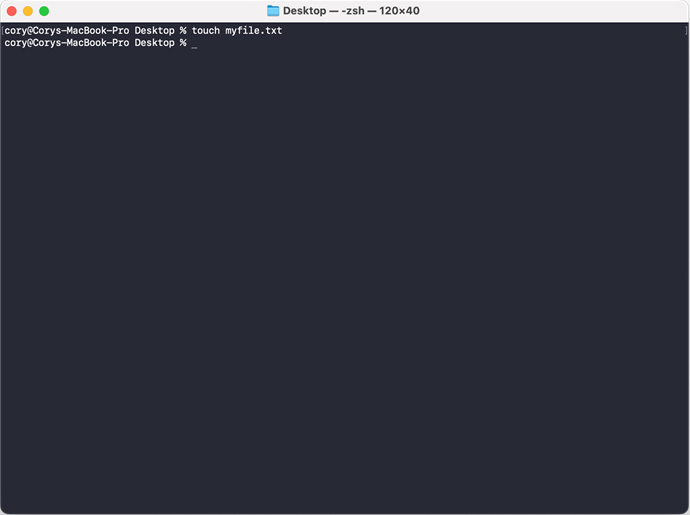
What it does: Creating a blank file isn’t easily done from the Finder. The touch command allows you to create any type of file, but it’s blank. After you create the blank file, you can open it in a text editor by typing open [filename].
Example: touch myfile.txt (Figure F)
Figure F
7. Create a directory
Command: mkdir
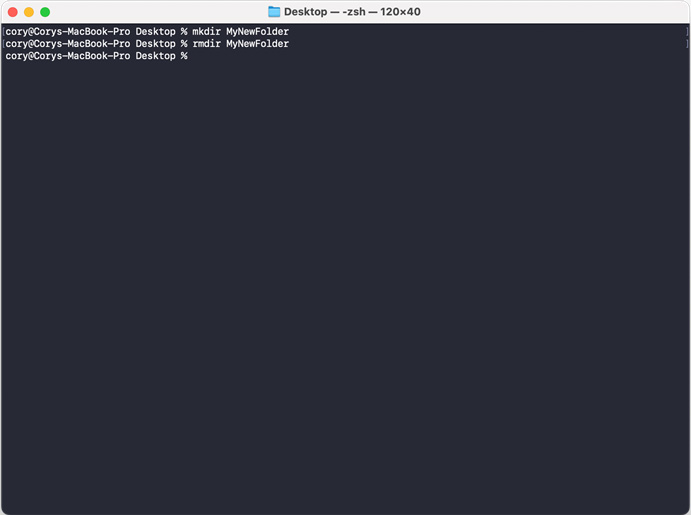
What it does: The mkdir command will allow you to create a directory (folder) from within the CLI. When you need a place to store new files, just use this command to add a new directory in the current working directory, or specify a full path to the location where you want the new directory to be placed.
Example: mkdir “path/to/new/directory” (Figure G)
Figure G

8. Remove an empty directory
Command: rmdir
What it does: When you’ve created a folder that has the wrong name, you can easily use the mv command to rename it, or if you want to remove a directory altogether, use the rmdir command followed by the path to the directory.
Example: rmdir “path/to/directory” (Figure H)
Figure H
9. Remove nested directories
Command: rm -R
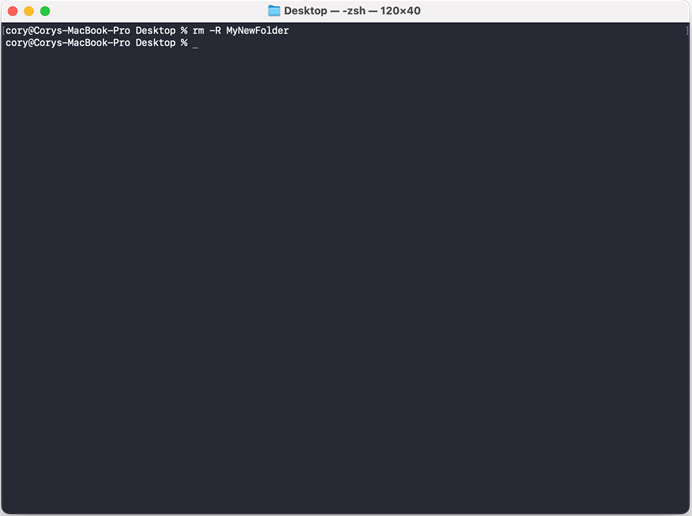
What it does: When you want to remove an entire directory that might contain other directories or files, then the rm -R command is where you will turn. This command is irreversible, unlike deleting files in the Finder and being able to restore them from the Trash. When this command is executed, all files and directories inside of the path you specify will be deleted immediately.
Example: rm -R “/path/to/root/directory” (Figure I)
Figure I
10. Execute commands with superuser privileges
Command: sudo
What it does: sudo is a command that allows you to elevate your user privileges while executing the command to administrator privileges. This is required for some commands to run — for instance, removing a file that is owned by another user. When you run this command, you will see a password field appear in Terminal where you will need to type your user account password to finish the command execution.
Your Mac has security baked in at its core, which is why when typing a password, the command line hides the characters typed for security practices. Remember to never type your password into a field that you did not request!
Example: sudo “command” (Figure J)
Figure J

11. List actively running computer processes
Command: top
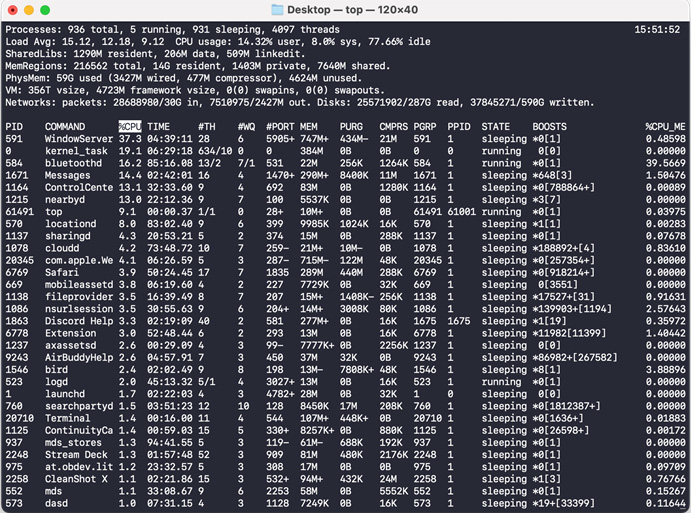
What it does: With top, you’ll see the stats of your system updated in Terminal’s window, such as the memory, CPU and disk utilization. You’ll also see a running list of the top apps using the CPU, including their state, ports used, memory per app and more, without needing to open the Activity Monitor app on your Mac. This command will execute until you close Terminal’s window or press Control + C to return execution back to the CLI.
Example: top (Figure K)
Figure K
12. Quit sub-screen and return to Terminal
Command: q
What it does: For commands that run in perpetuity when executed, you can end execution of the process by pressing the q key on your keyboard. Alternatively, you can press Control + C.
Example: q (Figure L)
Figure L
13. Clear the Terminal screen of all previous commands
Command: clear
What it does: Typing commands one after another can make a mess in the Terminal. The clear command removes all previously typed commands from the Terminal app’s view and gives you back a clean slate to work from. Instead of typing clear, you can also press Command + K to perform the same action.
Example: clear (Figure M)
Figure M
14. Copy contents of a folder to a new folder
Command: ditto
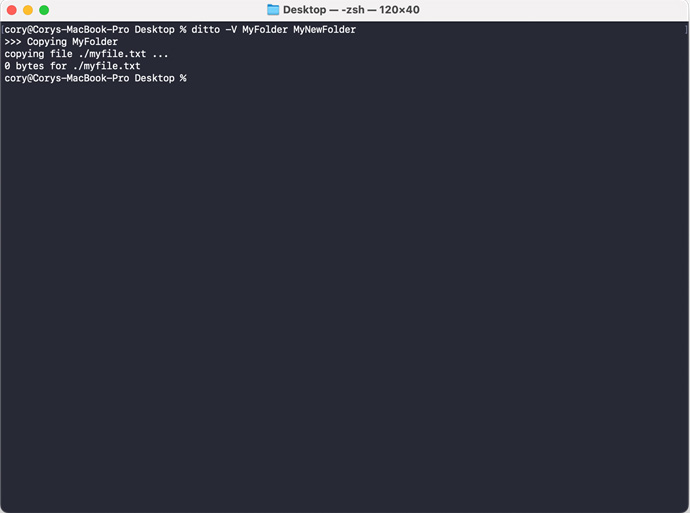
What it does: The ditto command will execute a copy of all of the contents of one folder into another folder you specify. This is great for when you need to start a new project and use an older project as a base or if you just need to copy files in a folder from your computer to an external drive. Add a -V, as in the example below, to get verbose output for each file copied.
Example: ditto -V MyFolder MyNewFolder (Figure N)
Figure N
15. Get one-line description for a command
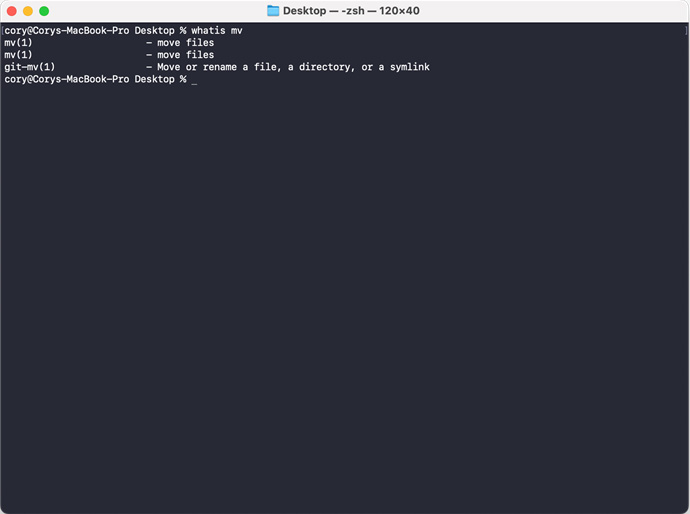
Command: whatis
What it does: When you want to get a short description of a command and what it does on your Mac, use the whatis command.
Example: whatis “command” (Figure O)
Figure O
16. Show manual page for a command
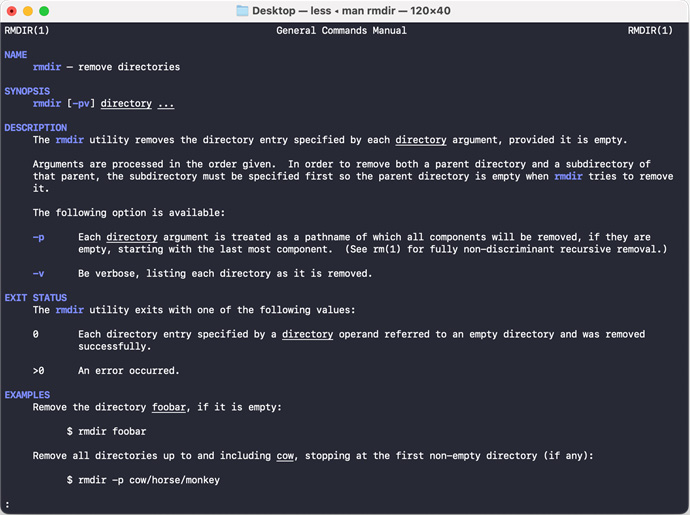
Command: man
What it does: Most commands in Terminal ship with a manual that allows you to get help or look up arguments and other information on what a command does. Similar to the whatis command, you can use the man command to find more information about a particular command.
Example: man “command” (Figure P)
Figure P
17. The “exit” command
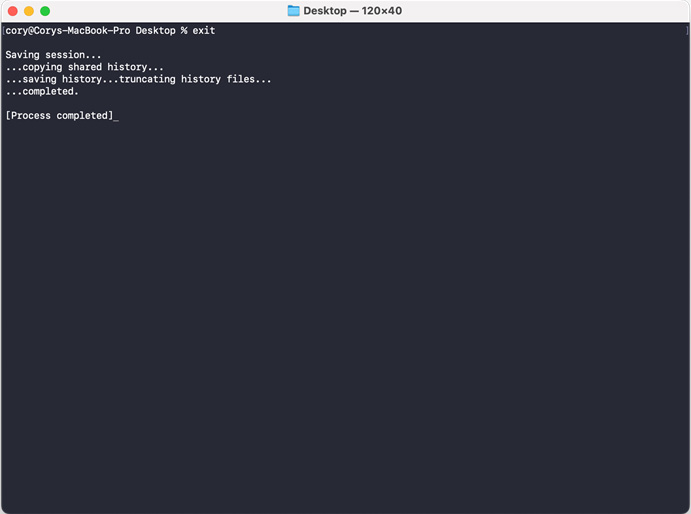
Command: exit
What it does: The exit command will close out the current session in Terminal. While you can simply close the window, that may not be possible when you’re using SSH through Terminal to access a remote machine. In this instance, you’ll want to use exit to hang up that remote connection before closing the window.
Example: exit (Figure Q)
Figure Q
18. Running Shortcuts from the Terminal
Command: shortcuts run
What it does: Sometimes you want to be able to easily run an Apple Shortcut workflow from the Shortcuts app. Forget the need to launch the Shortcuts app and run from there. Simply open Terminal and type shortcuts run ‘Name of Shortcut’ and press Return. This will immediately run your workflow without needing to do anything else.
Example: shortcuts run ‘My Shortcut’ (Figure R)
Figure R

19. Backing up with Time Machine
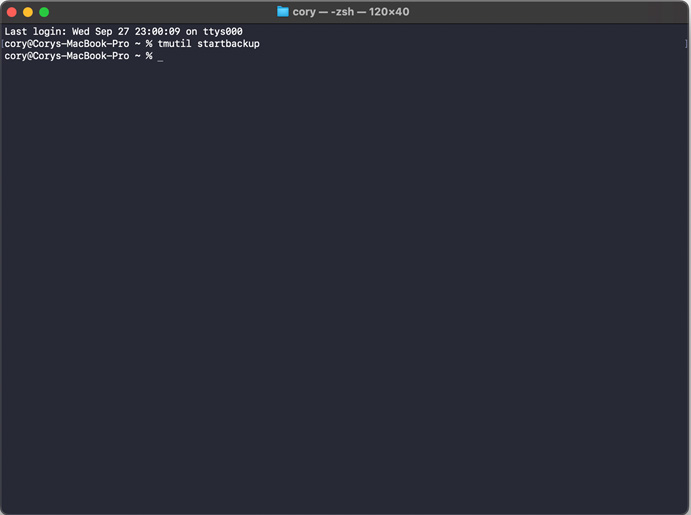
Command: tmutil startbackup
What it does: If you use Time Machine to back up your Mac, then sometimes you may find it useful to kick off a new backup snapshot of your computer. If this is the case, you can easily do it from Terminal without needing to delve into System Settings to find the correct Time Machine backup button. Just type tmutil startbackup into the Terminal, press Return, and your Mac will begin backing up to your Time Machine volume.
Example: tmutil startbackup (Figure S)
Figure S
20. Force Quitting Apps
Command: killall AppName
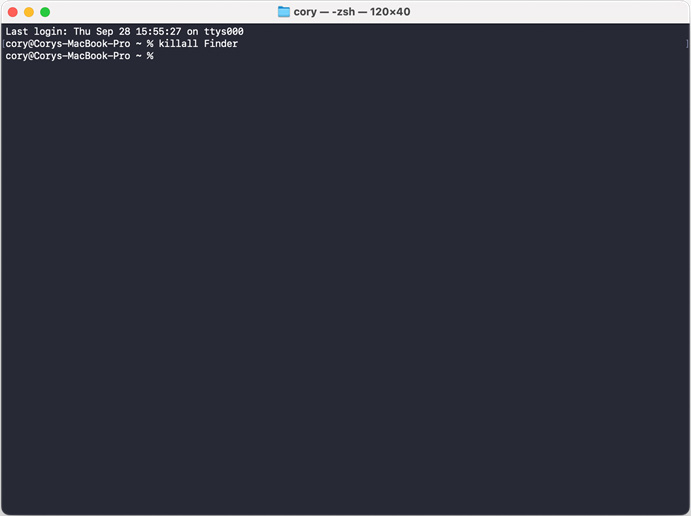
What it does: Being able to Force Quit an app can be important. Saving time, you can turn to Terminal and easily enter an application name and have the app instantly Force Quit. To do this, type killall followed by a space and the app name you’d like to Force Quit. In the example, we Force Quit the Finder. This causes it to reboot, which can fix some hangs and other issues with the Finder.
Example: killall Finder (Figure T)
Figure T
Take power over your Mac system
Being able to use the command-line interface on your Mac is important for many instances:
- Sometimes apps misbehave, and you need to restart them.
- Sometimes you just want to tap into the power of your Mac.
- Perhaps you’re maintaining multiple Macs and need to SSH into them and use the CLI to control them remotely.
No matter what your use case is, Terminal and the Mac’s underlying UNIX underpinning makes a powerful system that can be accessed by users to be more productive and gain powerful access to a system that is normally tucked away from basic users. Learning Terminal commands is the first step to becoming a power user on your Mac.
SEE: Have a Windows device? Learn how to use Windows Terminal in Windows 11.
Editor’s note: This article was originally written by Jesus Vigo and was updated by Cory Bohon to include additional information and updated commands.

Subscribe to the Apple Weekly Newsletter
Whether you want iPhone and Mac tips or the latest enterprise-specific Apple news, we've got you covered.
Delivered Tuesdays